Having a stoma is a big change, but one which should lead to you living a vibrant life. Discover lifestyle resources, tips for getting the most from your products, and knowledge to help you focus on understanding, adapting, and thriving.
Stoma support and resources
Find lots of helpful tips for living with a stoma in our resource library.
Diet and nutrition
Check out our collection of diet and nutrition advice for people with stomas. You’ll find helpful tips and useful guides to help you create balanced, healthy meals.

Exercise and wellbeing
Explore our collection of guides and articles to help you keep your body and mind healthy. From exercise to mental health we’ve got advice and tips for you.

Sex, intimacy and relationships
Talking about sex and relationships can be hard. So, we’ve put all our advice in one place to make things simple. Find tips, guides and articles to answer your burning questions.

Travel and holidays
Discover tips to make travel easy with our guides and articles. Whether you’re off on your holidays or travelling for work you’ll find advice to suit you.

Sleeping with a stoma
Discover tips and advice on managing leaks, reducing anxiety around sleeping with a stoma, and creating routines for a restful sleep.
Common issues
Wind and ballooning
Wind is normal but people with a stoma may be more sensitive to passing wind as they have no control over it. It may also make them feel self-conscious about odour. Wind can cause ballooning, where the stoma bag inflates due to a build-up of gas. This may cause the bag to come off.
Preventing ballooning and odour
Everyone is different but there are particular foods which are more commonly known to cause wind. If you are having a problem with wind you could see if removing certain foods from your diet helps.
For a comprehensive guide to foods you can eat with a stoma, download our free diet and nutrition guide.
Stoma bag leaking
A stoma bag leak can happen occasionally. There are various reasons a leak may occur – an incorrectly-fitted pouch, wind, your sleeping position or high output. If you’re experiencing leaks regularly, speak to your Stoma Care Nurse who can help locate the problem.
For help and advice, visit our page on managing stoma leaks to see how you can minimise the risk of stoma leaks.
Parastomal hernia
A parastomal hernia is where part of the bowel pushes through the stomach muscles. This creates a swelling under the skin around the stoma which can cause discomfort and pain.
What products can I use if I have a parastomal hernia?
Having a hernia may mean that the area around your stoma is not as flat as it used to be. This may make it more difficult to get your stoma bag to stick properly and stay in place. There are a few different products you can use to help with this.
Flange extenders Like HydroFrame and UltraFrame can help the stoma bag stay in place. The plus-shaped flange on the Aura Plus stoma bags can help shape it to uneven skin. There are also stoma hernia support garments that can help you feel more comfortable.
Prolapse
A prolapsed stoma is when part of the bowel comes out of the stoma opening. This may make your stoma longer or wider, but it is not usually painful. Prolapsed stoma can happen for various reasons. Like the stomach muscles becoming weaker, sudden strain from lifting, or pregnancy. The best way to reduce the risk of this is to strengthen your stomach muscles through exercise.
What should I do if I have a prolapsed stoma?
Prolapsed stomas are not usually serious. But you should always contact your Stoma Care Nurse or GP if you think you have one. Your stoma may become wider because of the prolapse. This may mean you need your stoma bag cut to a different size. If you’re worried about ballooning and odour you may want to try a stoma bag with a filter like our Aura Plus range.
Retracted stoma
A retracted stoma is when the stoma sinks below the level of the skin rather than sticking out. This isn’t usually serious but it can cause problems like leakage. A retracted stoma can be easily managed with the right products.
What should I do if my stoma retracts?
If you think your stoma has retracted you can speak to your Stoma Care Nurse. They’ll be able to advise you on what products you can use to manage your stoma.
Stoma pancaking
Pancaking can happen with a colostomy or occasionally with an ileostomy. It happens when the two sides of the stoma bag stick together. This causes a vacuum, preventing the contents from dropping to the bottom. The stuck contents can potentially block the filter, leading to the bag being forced off the body.
How can I prevent pancaking?
Try one of the following tips to prevent pancaking. If you’re still getting problems with pancaking, speak to a stoma nurse.
- Blow air into the stoma bag before you put it on.
- Try a piece of rolled up toilet paper or cotton wool, placed inside the pouch before you put it on.
- Apply a drop of oil or mild soap through the pouch opening. Make sure it comes into contact with the material inside the pouch on the opposite side. This can help any contents slide to the bottom.
Sore skin
Sore skin around the stoma can be a very common issue, but it is also easily treated. The skin around your stoma should look like the skin on the rest of your body. If your skin is red, hot, broken, or damaged then it’s likely you have sore skin and irritation.
What causes sore skin around the stoma?
There are many reasons the skin around your stoma could be sore, one of the most common is an ill-fitting stoma pouch. This may be due to you having the wrong size hole in the flange. If the hole is too big it allows your waste to come into contact with the skin, or worse seep underneath the flange.
Another issue could be the type or size of flange. The flange is the part of the pouch with the adhesive plate which encounters the skin. Most stoma bags use a hydrocolloid flange, some silicone but all have unique compounds. Some of these can aid skin health. However, some people may find the adhesive too tacky or they may have a mild allergy to the ingredients used. We use a basic formula without additives, to prevent irritation. Plus, we include medical-grade manuka honey, which may help to promote healthy skin.
Product focus
How to change a stoma bag
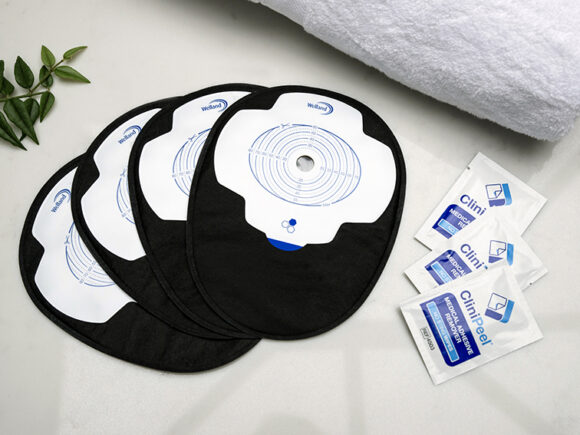
Need a reminder how to change your bag? Or need to know how to help someone with theirs? We have step-by-step guides to show you how and what you’ll need.
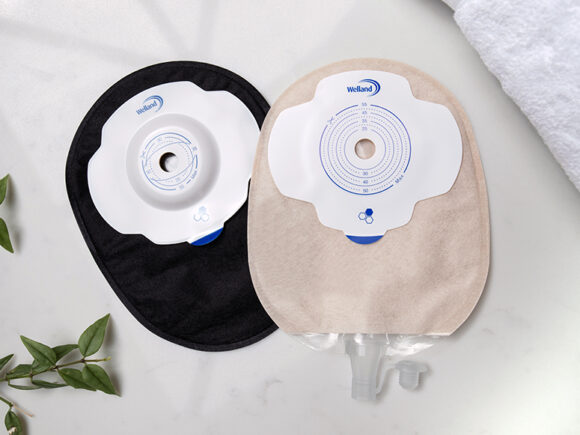
Choosing the right stoma bag
Don’t know which is the right stoma bag for you? We can help you choose. We also highlight some common issues that people experience with stoma bags.
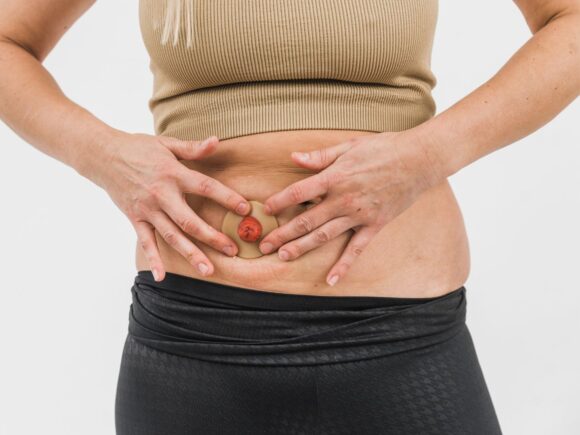
Stoma bag customisation
Learn how to measure your stoma and cut your stoma pouch to achieve the best possible fit.

Caring for the skin around the stoma
Discover routines and products that can help maintain healthy peristomal skin, provide comfort and prevent complications.
