
Customising your stoma bag to fit your body perfectly can make a big difference to your daily comfort and your skin health. At CliniMed, we understand that no two stomas are the same. Learn how to measure, cut and fit your pouch to achieve the best possible fit. Whether you’re new to stoma care or looking to improve your current routine, this guide will help you feel more confident and in control.
Why customising your stoma bag matters
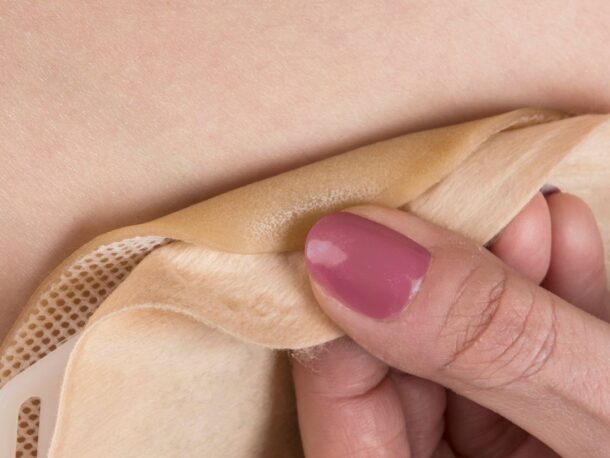
A stoma bag that’s not fitting correctly can lead to leaks, skin irritation and discomfort. Every stoma is unique in size, shape and contour, which means a standard pre-cut pouch may not offer the snug fit you need. Customising your pouch ensures a more secure seal around your stoma, helping to reduce the chance of leaks and maintain the health of the surrounding skin.
With the right tools and knowledge, you can either cut your pouch at home or take advantage of a cutting services. SecuriCare, our home delivery service, offer a free, professional cutting option when ordering your stoma bag. Either way, a correctly fitted pouch means you can go about your day with greater comfort and confidence.
When to measure your stoma
Your stoma may change size or shape in the weeks after surgery, so regular measuring is key, especially early on. We recommend measuring your stoma:
How to measure your stoma
Step 1
Gently place the measuring guide over your stoma. You can use a mirror to help if you need better visibility.
Step 2
Choose the hole that fits comfortably without touching the stoma, leaving about 1mm of skin visible around it.
Step 3
If your stoma is oval or irregular, measure both the widest and narrowest points.
Step 4
Record your measurements to track changes.
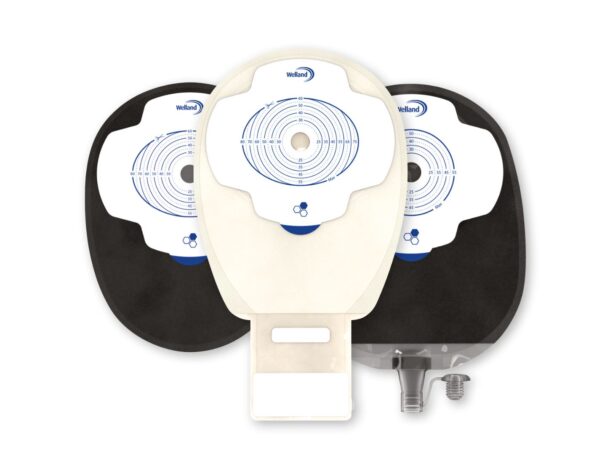
How to cut your stoma pouch
Once you have your measurements, you’re ready to cut your pouch. You can either do this at home or request a professional cut-to-fit service.
What you’ll need: Stoma measuring guide, permanent marker and stoma pouch cutting scissors.
When ordering supplies through SecuriCare (our home delivery service), you can request complimentary cutting scissors to help you with this step.
Steps for round stomas:
- Use the guide to trace a circle onto the release liner or backing film
- Make a cut from the starter hole to the edge of the traced circle, making sure not to go through the pouch
- Cut along the line carefully and smoothly
- Gently run your fingers along the cut edge to smooth it
Steps for oval/irregular stomas:
- Mark the widest and narrowest parts using your guide
- Connect the marks to create a custom shape
- Cut slowly and carefully around your traced shape, making sure not to go through the pouch
Tip: If you’re ever unsure, speak to your stoma nurse or use a cutting service.
How to cut your stoma pouch
Once you have your measurements, you’re ready to cut your pouch. You can either do this at home or request a professional cut-to-fit service.
What you’ll need: Stoma measuring guide, permanent marker and stoma pouch cutting scissors.
When ordering supplies through SecuriCare (our home delivery service), you can request complimentary cutting scissors to help you with this step.
Steps for round stomas:
- Use the guide to trace a circle onto the release liner or backing film
- Pierce the centre of the marked area, making sure not to go through the pouch
- Cut along the line carefully and smoothly
- Gently run your fingers along the cut edge to smooth it
Steps for oval/irregular stomas:
- Mark the widest and narrowest parts using your guide
- Connect the marks to create a custom shape
- Cut slowly and carefully around your traced shape, making sure not to go through the pouch
Tip: If you’re ever unsure, speak to your stoma nurse or use a cutting service.
Watch a tutorial
Watch our Educational Support Worker, Sarah Brown advise how to measure and cut your stoma pouch. Learn tips and tricks on measuring round, oval or irregular stomas.
View the video transcript +–
In this section, we’ll show you how to measure your stoma. Measuring your stoma correctly is important because it helps reduce the risk of leaks, keeps the skin around your stoma healthy, and ensures that your stoma appliances fit properly.
You should measure your stoma frequently at first – especially in the weeks following surgery, as its size and shape can change. Most stomas settle into a consistent size after about 4 to 6 weeks, but it’s still a good idea to measure regularly, particularly if you notice leaks or sore skin.
If your pouches are cut by your home delivery service, like SecuriCare, check your measurements each time you place an order. That way, your template can be updated if needed, and you’ll always have the best possible fit.
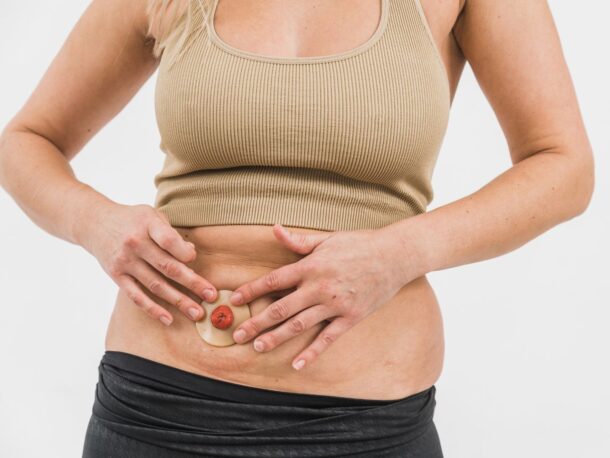
The goal is to cut your stoma pouch so it fits snugly around the base of your stoma – without touching it – leaving no gaps that might cause leaks.
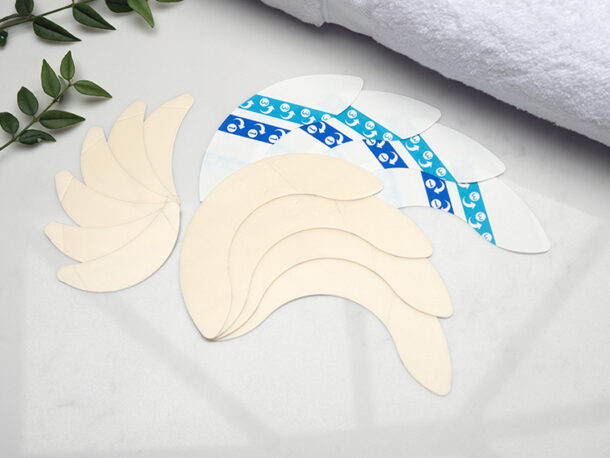
You’ll need a few simple items: a stoma measuring guide which you can get from your nurse or through a delivery service like SecuriCare. You’ll also need a pen, a sharp pair of pouch cutting scissors, and a mirror if that helps you see more clearly.
The measuring guide has different size openings. Place it gently over your stoma and find the hole that fits best.
If the guide touches your stoma, the hole is too small. If you can see skin inside the hole around the stoma, the hole is too big.
You’re looking for the opening that fits comfortably around your stoma without touching it -ideally leaving about 1 millimetre of skin visible all the way around. Write down this measurement so you know if it’s changed and if you need to update anything.
Some people have stomas that aren’t perfectly round – they may be more oval. If that’s the case, measure the widest and narrowest parts using the template.
Apply the same 1 millimetre margin rule around the stoma, and make a note of both measurements. This will help you cut your appliance to match your unique shape.
Sometimes your Stoma Care Nurse might provide you with your unique stoma template pre-cut on the stoma pouch release liner, or even on a piece of cardboard. You can use this in the same way to check your template regularly. If you can see skin showing and the stoma has got smaller then remeasure your stoma. The same applies if the template feels tight in an area.
Here are some tips from Stoma Care Nurses:
- Measure your stoma when you’re calm and not rushed – like after a shower
- Make sure the area is clean and dry
- Use natural light if possible to see clearly
- If you’re ever unsure, don’t hesitate to ask your stoma nurse for help
Once you’ve measured your stoma, you’ll need to cut your pouch to fit. You can choose to do this yourself, or have it done for you by a home delivery service. For example, SecuriCare offers an ultrasonic cutting service that provides an accurate, professional cut.
There are also pre-cut pouches available in common sizes, which may suit some people with round stomas. But for most people, especially if your stoma is oval or irregular in shape, a cut-to-fit pouch offers better precision and a more secure fit.
To cut your pouch at home, you’ll need pouch cutting scissors – these are specially designed to cut cleanly and accurately. You can get them from your Stoma Care Nurse or request them from your home delivery company.
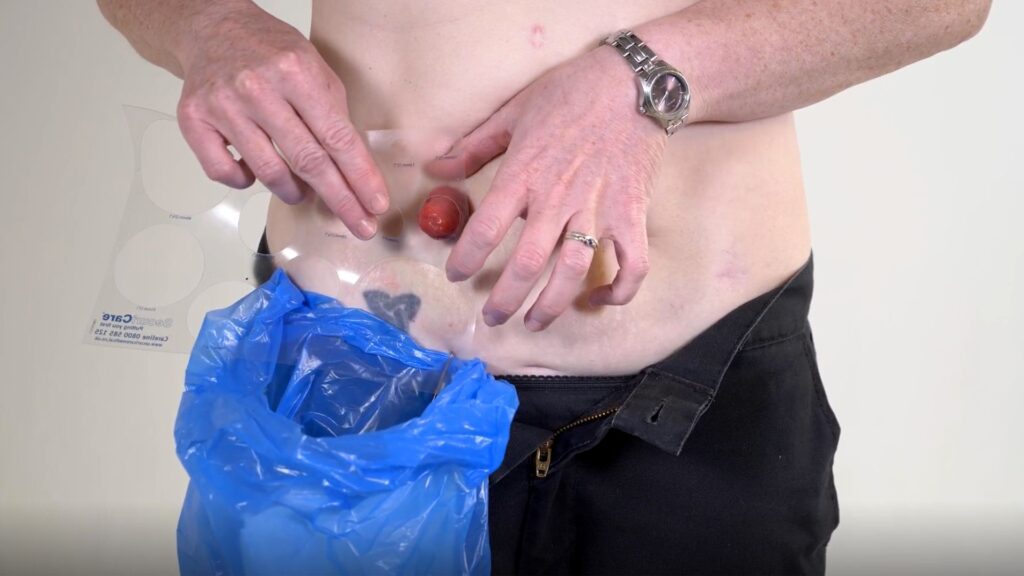
For round stomas, take your measuring template and place it over the release liner of your pouch. Use the correct size opening and draw a circle using a permanent marker. This will be your guide for cutting.
If your stoma is more oval or irregular in shape, you’ll need to mark both the widest and narrowest dimensions. Use the measuring guide to mark each size on the release liner, making sure the orientation is correct – then join the lines together to create the right shape. This helps you get a snug, personalised fit.
Use your cutting scissors to pierce the centre of the marked area, then cut outwards to the line. Carefully follow the shape you’ve drawn, taking your time to make sure it’s smooth and accurate. Be careful not to cut through the bag material.
Once you’ve finished cutting, run your fingers gently around the edge to smooth out any rough parts. This helps prevent irritation to your skin.
Here are some tips for cutting your pouch:
- Use a clean, flat surface and good lighting
- Permanent markers make clearer lines that won’t smudge
- Always double-check your measurements before cutting
- If you’re not confident, ask your Stoma Nurse for support or consider using a cutting service
Using a professional cutting service
If you prefer not to cut your own pouches, SecuriCare (our home delivery service) offer a free ultrasonic cutting service that provides precise, reliable results.
This service saves time and ensures your pouch arrives ready to apply, giving you extra confidence in your routine.
Available through the SecuriCare home delivery service
Pouches cut to your exact template
Especially useful for those with limited dexterity or irregular stomas
Templates can be updated anytime your measurements change

Tips for the best fit
Always measure your stoma in a calm environment
Ensure your skin is clean and dry before applying a pouch
Use a well-lit area to help with visibility
Keep old templates to monitor changes
Don’t hesitate to ask your Stoma Care Nurse for help
Designed around what you value most – security, comfort and healthy skin
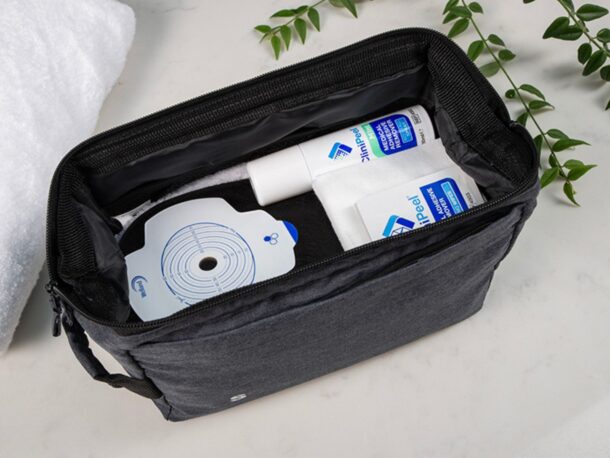
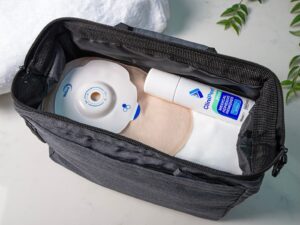
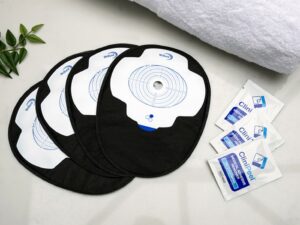
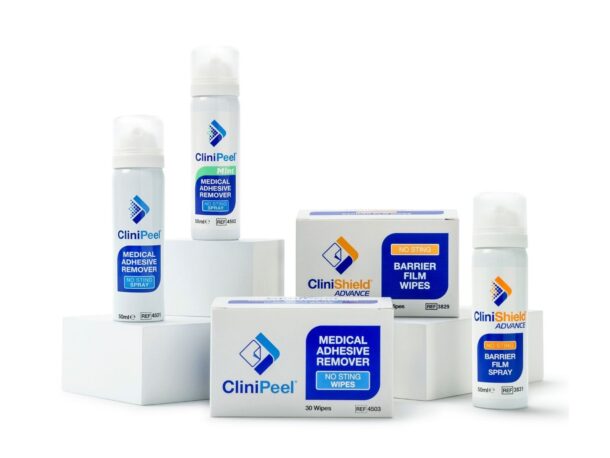
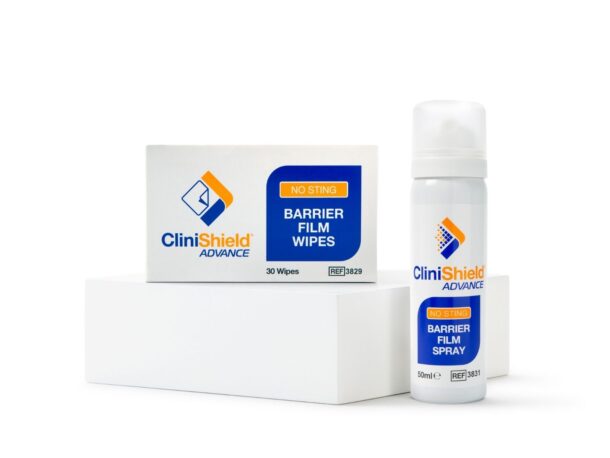
CliniMed offers a range of stoma accessories to support you with your pouch change routine, including:
- Medical adhesive removers
- Barrier films to protect the skin
- Flange extenders for extra security
Explore our stoma care accessories and request free samples to find what works best for you.
Further reading
Find lots of helpful tips for stoma bag customisation below: