Before changing your stoma pouch and removing your old pouch, the first step if you’re using a drainable or urostomy pouch is to empty it.
Closed pouches are designed to be removed and disposed of after each use, so there’s no need to empty them unless you prefer to cut open and empty the contents before disposal.
In this section, we’ll show you how to empty your pouch – whether it’s part of your routine change or just because the pouch is full – and how to properly secure and fasten your outlet or tap, which is also something you’ll need to do before applying a fresh pouch.
You should empty your pouch when it feels bulky or when it’s about one-third to half full. This applies both during the day and before you change your pouch.
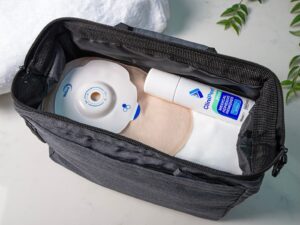
All you’ll need to empty your pouch is some toilet paper for cleaning the outlet or tap afterward. And of course, always wash your hands both before and when you’re finished.
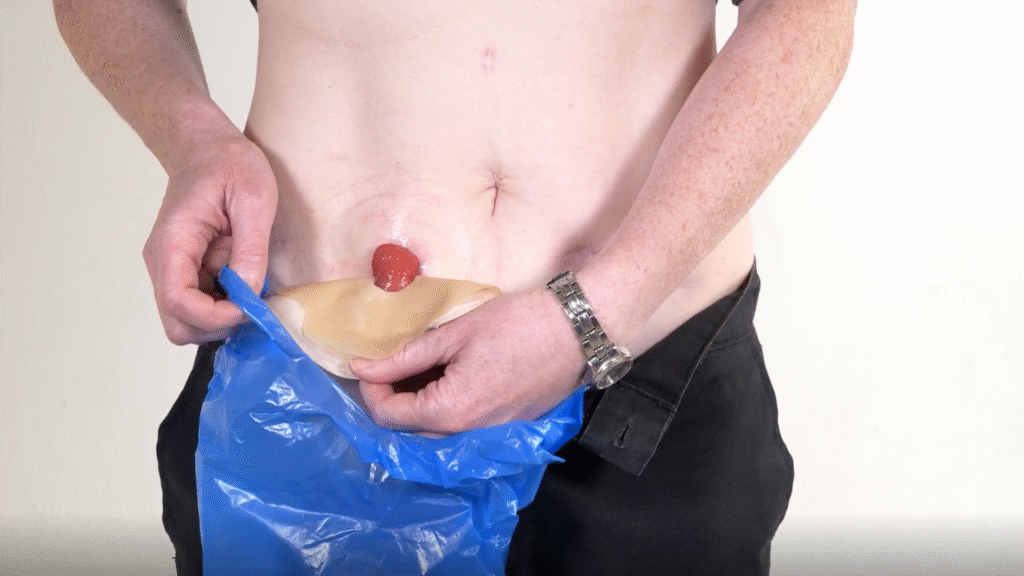
This is a drainable pouch with a hook-to-hook outlet. To empty it, start by making sure the outlet is facing upwards to prevent spills. Then unfasten the plastic interlocking fasteners and unroll the outlet.
Position the opening over the toilet, then use the release tab to gently pinch the outlet open, allowing the contents to drain into the toilet.
Once the pouch is empty, clean the outlet. Use toilet paper to wipe the outside edges in a sliding motion, then clean around the inside of the opening.
To reclose the pouch, fold the outlet upwards and reconnect the hook-to-hook fastener. Start pressing in the middle and work your way outwards. You’ll feel the fasteners click together, creating a secure seal.
If you use a urostomy pouch with a bung tap, stand or sit near the toilet. Turn the outlet tap upwards and gently squeeze behind the tap to control the flow.
Then, unplug the tap and direct it towards the toilet. Loosen your grip to allow urine to drain into the toilet, keeping hold of the tap to aim the flow.
Dry the tap with toilet paper, then turn it upwards again. Hold some paper underneath to catch any drips. Finally, press the bung firmly into place to make sure it’s secure.
Once you’ve emptied your pouch, dispose of any used tissue and always remember to wash your hands thoroughly.
Once your pouch is emptied, the next step is to remove it and get ready to apply a fresh one. In this section, we’ll guide you through how to remove your stoma pouch safely, clean the area, and prepare your skin for the next pouch.
Before you start, always wash your hands thoroughly with soap and water. This helps to reduce the risk of infection.
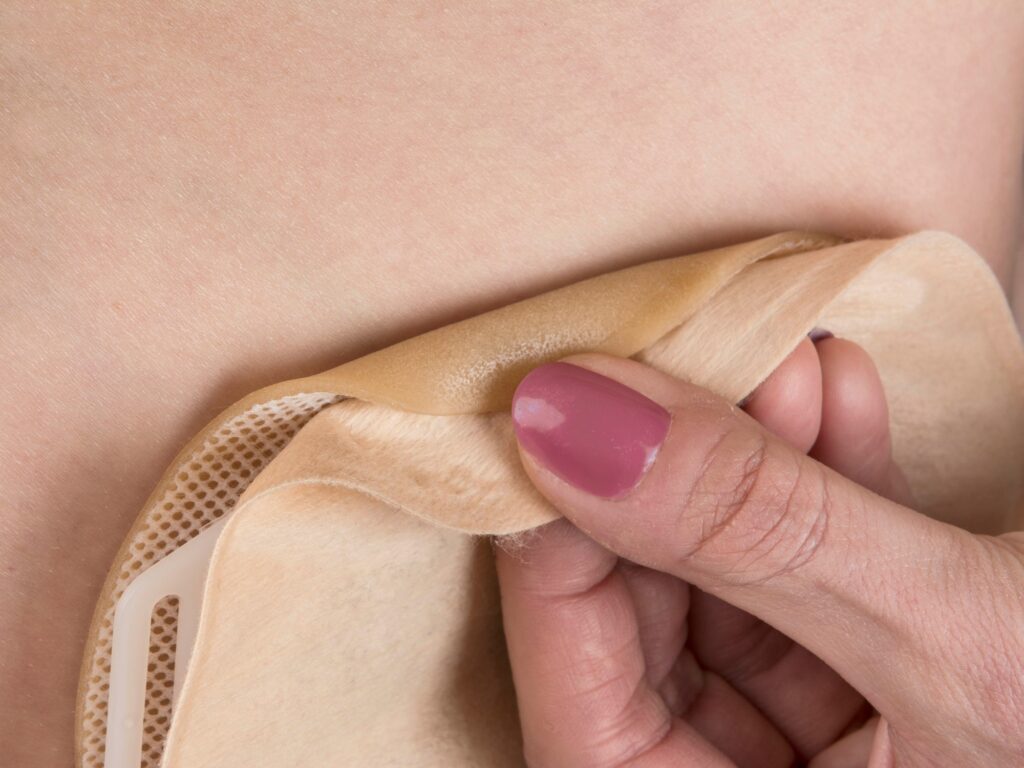
A medical adhesive remover can help take off your pouch gently, without pulling or irritating the skin. Apply a small amount of adhesive spray or wipe around the top edge of the flange, and wait a few seconds for it to loosen.
Start from the top and slowly peel the flange away from the skin. Hold your skin taut with one hand to make it easier and more comfortable. You can use more adhesive remover if needed as you go.
Once the pouch is removed, fold it in half to seal it, and place it into a disposable bag. These are available from your stoma supplier. You can then dispose of the bag in your normal household waste – along with any other supplies you use when changing your pouch like wipes or cloths.
Use a dry, non-woven wipe or a clean, washable cloth to remove any waste from around your stoma. You can also use kitchen roll for this. These can be placed in the same disposal bag as your pouch.
Next, wash your stoma and the surrounding skin with warm water and a soft cloth or non-woven wipe. You don’t need any soap – just water is enough. Then gently pat the area dry to make sure your skin is completely dry before applying a new pouch.
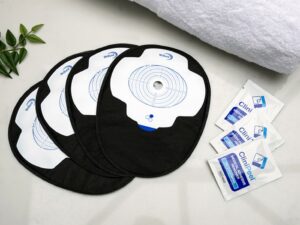
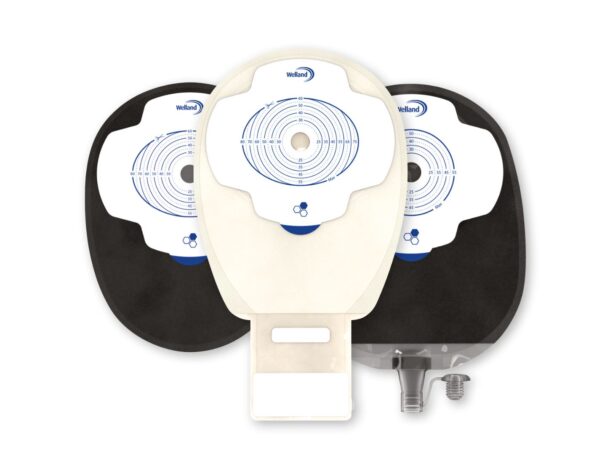
Once your skin is clean and dry, you’re ready to apply a fresh pouch. Make sure your new pouch is already cut to fit your stoma – whether you’ve done this yourself, your delivery company has cut it for you, or you’re using a pre-cut pouch that matches your stoma size.
If you’re using a drainable or urostomy pouch, it’s important to check that the outlet or tap is securely fastened before applying the pouch. This helps prevent any leaks as you put it on.
Peel the release liner or protective cover away from the adhesive flange of your pouch. Avoid touching the sticky part too much so it adheres well.
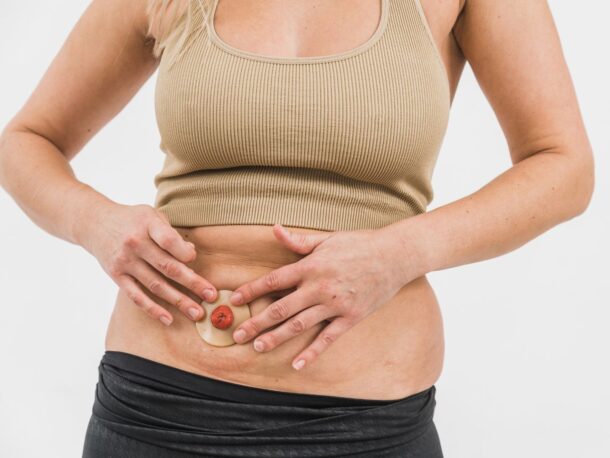
Carefully line up the opening of the pouch with your stoma. Make sure it’s centered to avoid gaps or pressure on the stoma.
Apply the pouch from bottom to top. Gently press the adhesive down around the stoma first, then smooth it outwards toward the edges. Take your time and massage out any creases that could lead to leaks.
Once the pouch is in position, hold it in place with your hand for 30 seconds to a minute. The warmth of your hand helps the adhesive stick more effectively to your skin.
And that’s it – your new pouch is securely in place and you’re ready to go. Regular, careful changes like this help keep your skin healthy and your stoma well managed.